
The margins are not printing as expected
Try the following solutions to resolve the issue. Solutions are listed in order, with the most
likely solution first. If the first solution does not solve the problem, continue trying the
remaining solutions until the issue is resolved.
•
Solution 1: Set the correct margins in your software application
•
Solution 2: Verify the paper size setting
•
Solution 3: Load the stack of paper correctly
•
Solution 4: Load the stack of envelopes correctly
Solution 1: Set the correct margins in your software application
Solution:
Check the printer margins.
Make sure the margin settings for the document do not exceed the printable area of
the product.
To check your margin settings
1.
Preview your print job before sending it to the product.
In most software applications, click the
File
menu, and then click
Print Preview
.
2.
Check the margins.
The product uses the margins you have set in your software application, as long
as they are greater than the minimum margins the product supports. For more
information about setting margins in your software application, see the
documentation that came with the software.
3.
Cancel the print job if the margins are not satisfactory, and then adjust the margins
in your software application.
Cause:
The margins were not set correctly in your software application.
If this did not solve the issue, try the next solution.
Solution 2: Verify the paper size setting
Solution:
Verify that you have selected the proper paper size setting for your
project. Make sure that you have loaded the correct paper size in the input tray.
Cause:
The paper size setting was not set correctly for the project you were printing.
If this did not solve the issue, try the next solution.
Solution 3: Load the stack of paper correctly
Solution:
Remove the stack of paper from the input tray, and then reload the paper.
Make sure that you slide the paper-width guide to the right until it stops at the edge
of the paper.
For more information, see:
Load media
Cause:
The paper guides are not positioned correctly.
Print troubleshooting
55
Solve a problem
If this did not solve the issue, try the next solution.
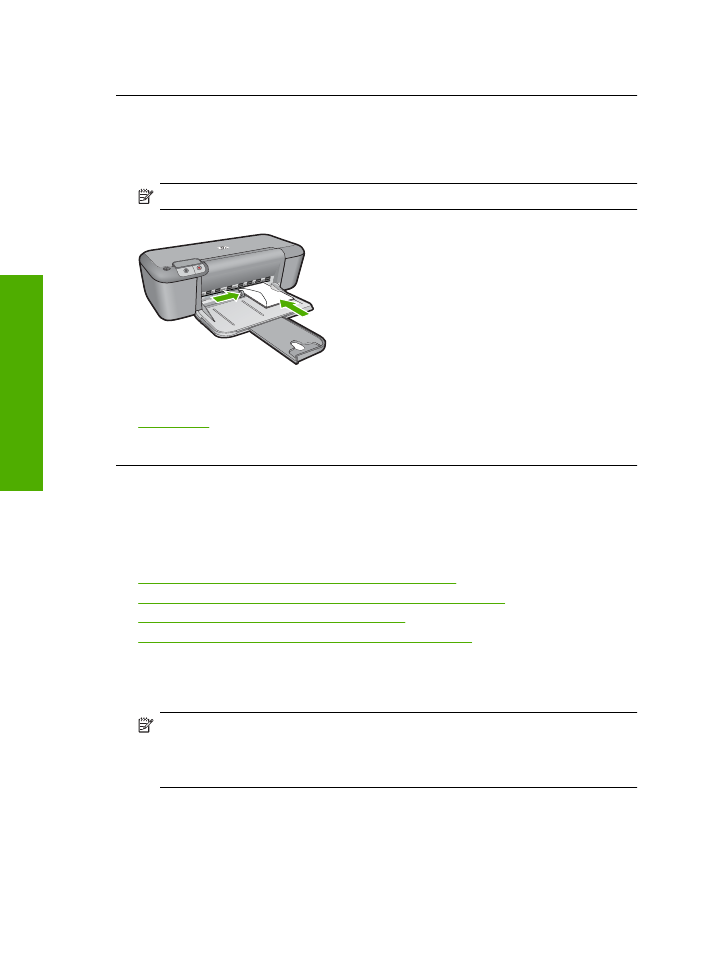
Solution 4: Load the stack of envelopes correctly
Solution:
Remove all paper from the input tray. Load a stack of envelopes in the
input tray, with the envelope flaps facing up and on the left.
NOTE:
To avoid paper jams, tuck the flaps inside the envelopes.
For more information, see:
Load media
Cause:
A stack of envelopes was loaded incorrectly.