Print on specialty media
Print transparencies
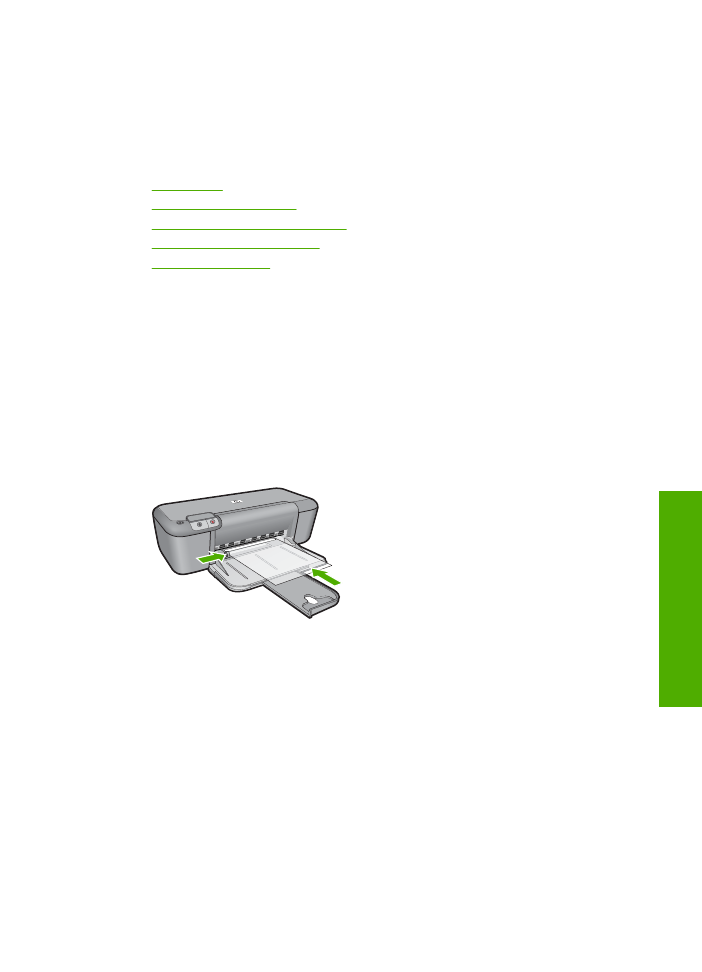
1.
Slide the paper guide all the way to the left.
2.
Place the transparencies in the right side of the tray. The side to be printed should
face down and the adhesive strip should face up and toward the printer.
3.
Carefully push the transparencies into the printer until they stop, so that the adhesive
strips do not catch on one another.
4.
Slide the paper guide firmly against the edge of the transparencies.
5.
Open the
Printer Properties
dialog box.
6.
Click the
Printing Shortcuts
tab.
7.
In the
Printing Shortcuts
list, click
Presentation Printing
, and then specify the
following print settings:
•
Paper Type
: Click
More
, and then select an appropriate transparency film.
•
Paper Size
: An appropriate paper size
8.
Select any other print settings that you want, and then click
OK
.
Print postcards
1.
Slide the paper guide all the way to the left.
2.
Place the cards in the right side of the tray. The side to be printed on should face
down and the short edge should point toward the printer.
3.
Push the cards into the printer until they stop.
Print on specialty media
9
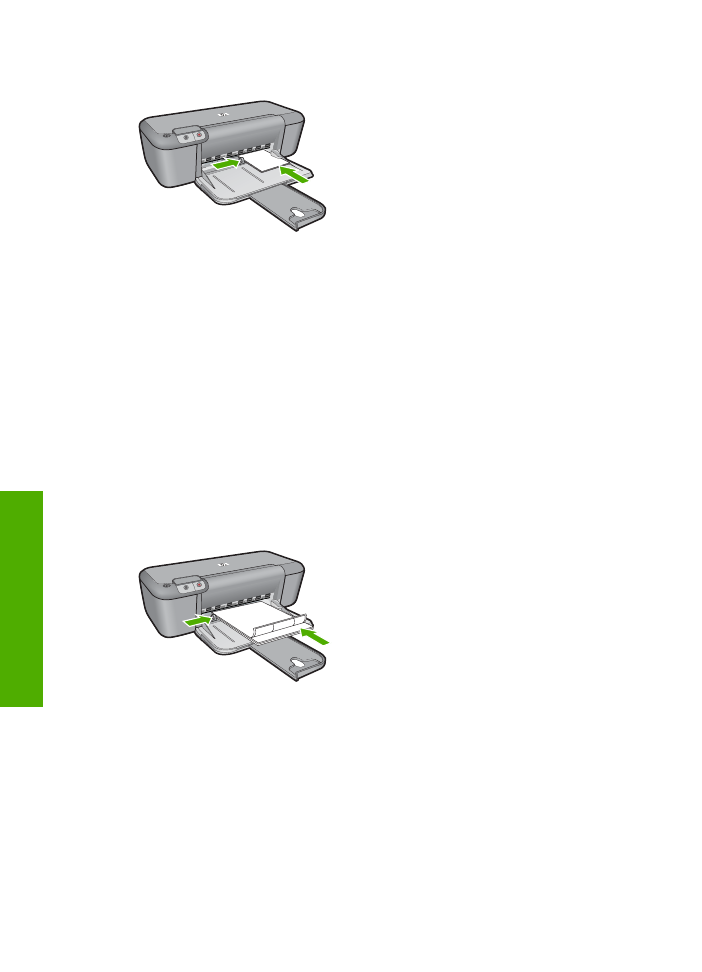
4.
Slide the paper guide firmly against the edge of the cards.
5.
Open the
Printer Properties
dialog box.
6.
Click the
Features
tab, and then specify the following print settings:
•
Paper Type
: Click
More
, click
Specialty Papers
, and then select an appropriate
card type.
•
Print Quality
:
Normal
or
Best
•
Size
: An appropriate card size
7.
Select any other print settings that you want, and then click
OK
.
Print labels
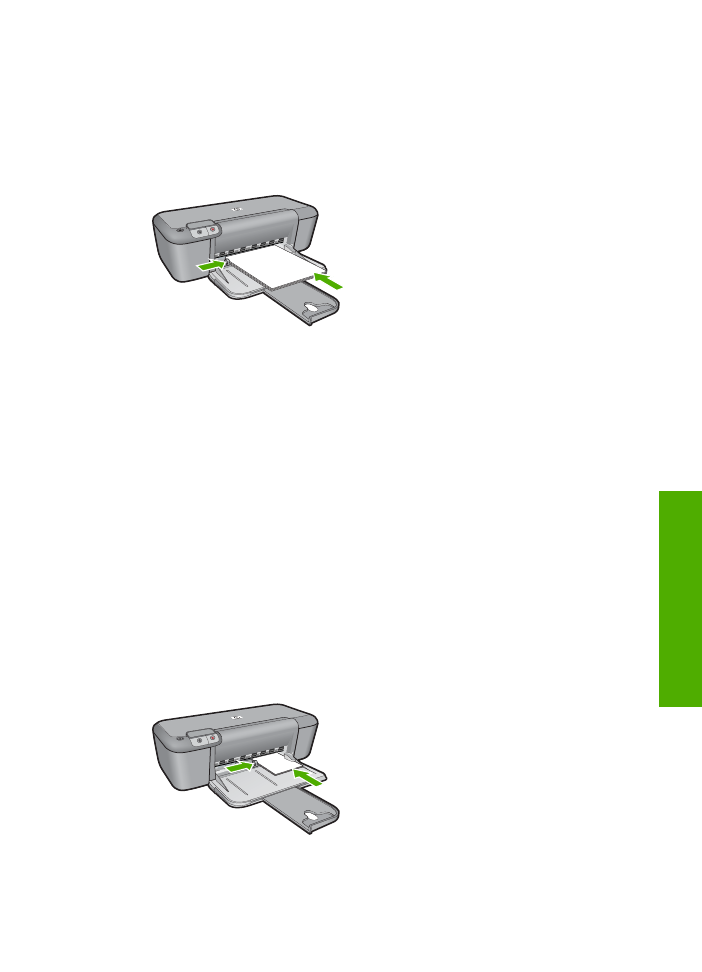
1.
Slide the paper guide all the way to the left.
2.
Fan the edges of the label sheets to separate them, and then align the edges.
3.
Place the label sheets in the right side of the tray. The label side should face down.
4.
Push the sheets into the printer until they stop.
5.
Slide the paper guide firmly against the edge of the sheets.
6.
Open the
Printer Properties
dialog box.
7.
Click the
Printing Shortcuts
tab.
8.
In the
Printing Shortcuts
list, click
General Everyday Printing
, and then specify
the following print settings:
•
Paper Type
:
Plain Paper
•
Paper Size
: An appropriate paper size
9.
Click
OK
.
Chapter 2
10
Print brochures
1.
Slide the paper guide all the way to the left.
2.
Place the paper in the right side of the tray. The side to be printed on should face
down.
3.
Push the paper into the printer until it stops.
4.
Slide the paper guide firmly against the edge of the paper.
5.
Open the
Printer Properties
dialog box.
6.
Click the
Features
tab.
7.
Specify the following print settings:
•
Print Quality
:
Best
•
Paper Type
: Click
More
, and then select an appropriate HP inkjet paper.
•
Orientation
:
Portrait
or
Landscape
•
Size
: An appropriate paper size
•
Two-sided printing
:
Manual
8.
Click
OK
to print.
Print greeting cards
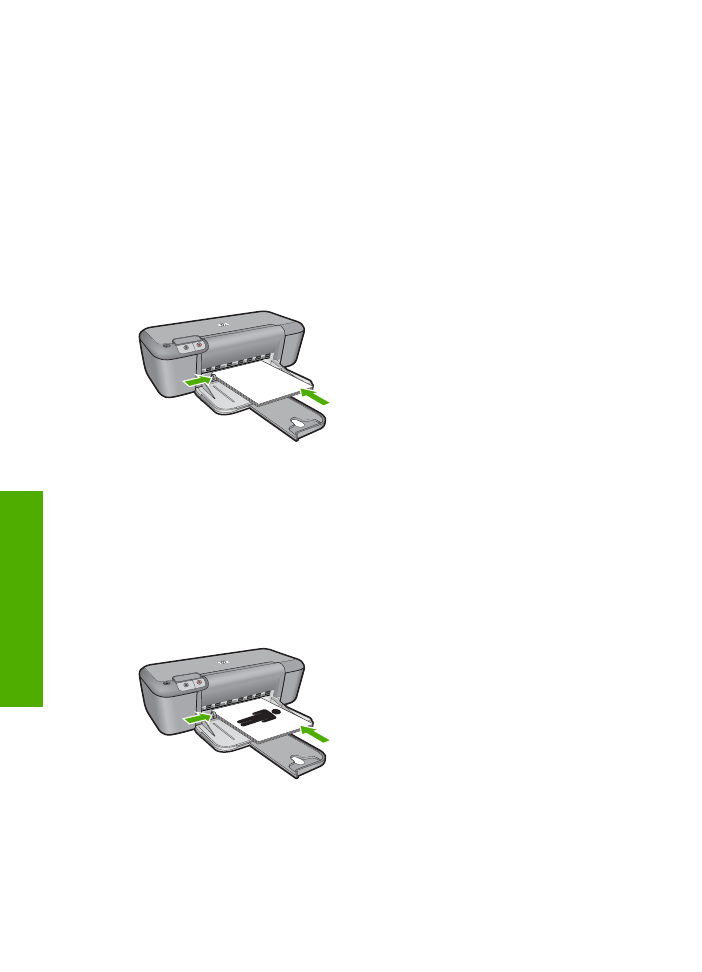
1.
Slide the paper guide all the way to the left.
2.
Fan the edges of the greeting cards to separate them, and then align the edges.
3.
Place the greeting cards in the right side of the tray. The side to be printed on should
face down.
4.
Push the cards into the printer until they stop.
5.
Slide the paper guide firmly against the edge of the cards.
6.
Open the
Printer Properties
dialog box.
Print on specialty media
11
7.
Click the
Features
tab, and then specify the following print settings:
•
Print Quality
:
Normal
•
Paper Type
: Click
More
, and then select an appropriate card type.
•
Size
: An appropriate card size
8.
Select any other print settings that you want, and then click
OK
.
Print booklets
1.
Slide the paper guide all the way to the left.
2.
Place plain paper in the right side of the tray. The side to be printed on should face
down.
3.
Push the paper into the printer until it stops.
4.
Slide the paper guide firmly against the edge of the paper.
5.
Open the
Printer Properties
dialog box.
6.
Click the
Printing Shortcuts
tab.
7.
In the
Printing Shortcuts
list, click
Booklet Printing
.
8.
In the
Print On Both Sides
drop-down list, select one of the following binding options:
•
Left Edge Booklet
•
Right Edge Booklet
9.
Select any other print settings that you want, and then click
OK
.
10.
When prompted, reload the printed pages in the paper tray as shown below.
11.
Click
Continue
to finish printing the booklet.
Chapter 2
12
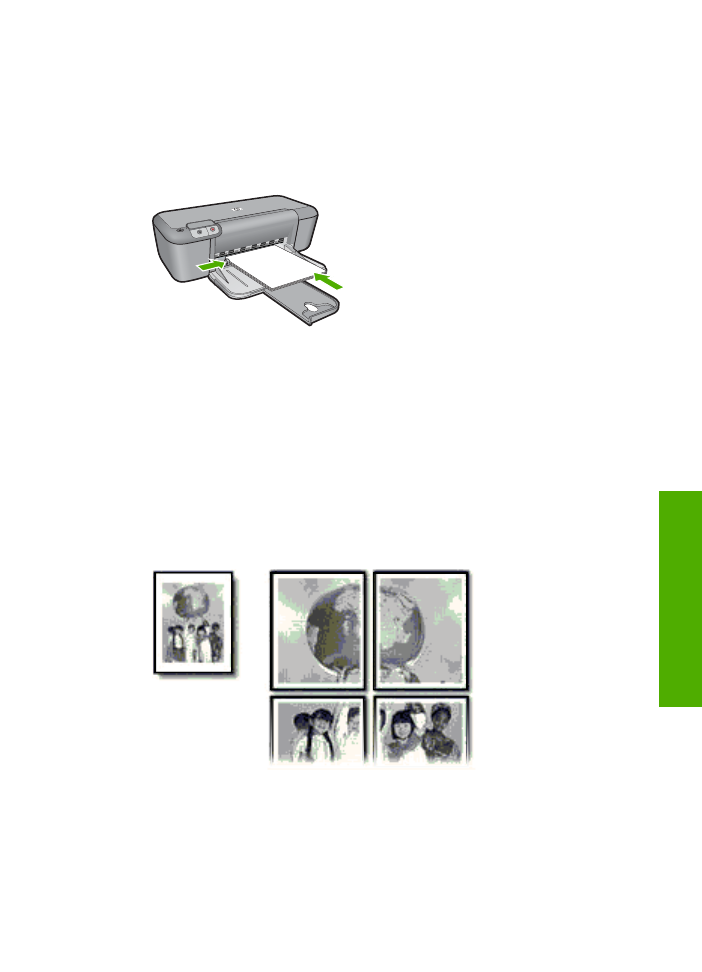
Print posters
1.
Slide the paper guide all the way to the left.
2.
Place plain paper in the right side of the tray. The side to be printed on should face
down.
3.
Push the paper into the printer until it stops.
4.
Slide the paper guide firmly against the edge of the paper.
5.
Open the
Printer Properties
dialog box.
6.
Click the
Features
tab, and then specify the following print settings:
•
Paper Type
:
Plain Paper
•
Orientation
:
Portrait
or
Landscape
•
Size
: An appropriate paper size
7.
Click the
Advanced
tab, and then click
Printer Features
.
8.
In the
Poster Printing
drop-down list, select the number of sheets for the poster.
9.
Click the
Select Tiles
button.
10.
Check that the number of tiles that are selected matches the number of sheets for
the poster, and then click
OK
.
11.
Select any other print settings that you want, and then click
OK
.
Print on specialty media
13
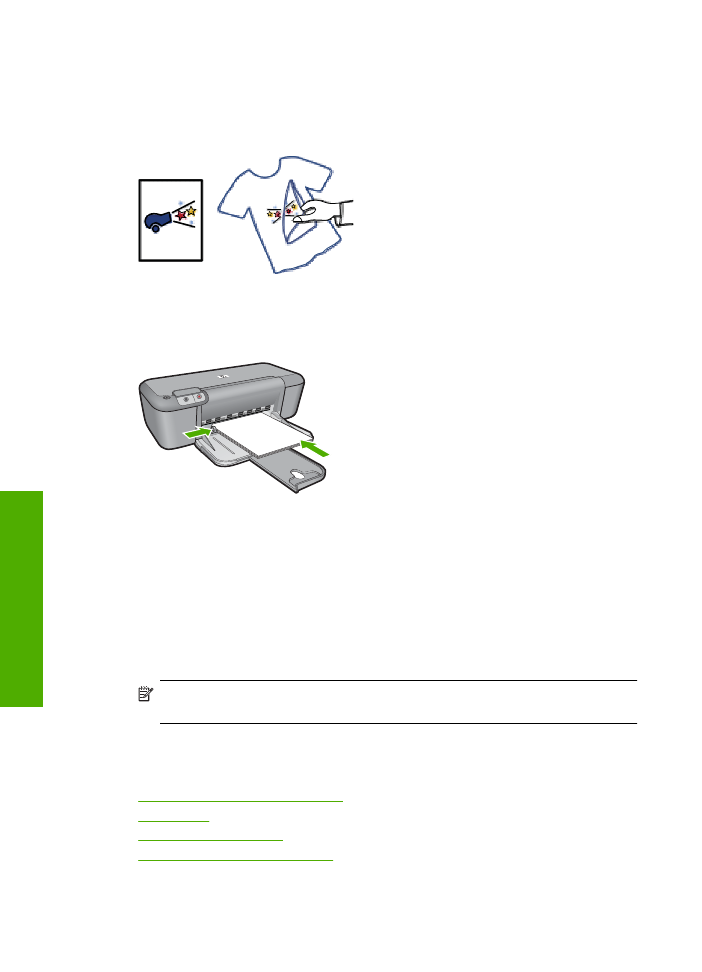
Print iron-on transfers
1.
Slide the paper guide all the way to the left.
2.
Place the iron-on transfer paper in the right side of the tray. The side to be printed on
should face down.
3.
Push the paper into the printer until it stops.
4.
Slide the paper guide firmly against the edge of the paper.
5.
Open the
Printer Properties
dialog box.
6.
Click the
Features
tab, and then specify the following print settings:
•
Print Quality
:
Normal
or
Best
•
Paper Type
: Click
More
, click
Specialty Papers
, and then click
Other specialty
paper
.
•
Size
: An appropriate paper size
7.
Click the
Advanced
tab.
8.
Click
Printer Features
, and then set
Mirror Image
to
On
.
NOTE:
Some iron-on transfer software programs do not require you to print a
mirror image.
9.
Select any other print settings that you want, and then click
OK
.
Related topics
•
Recommended papers for printing
•
Load media
•
View the print resolution
•
Create custom printing shortcuts
Chapter 2
14
•
Set the default print settings
•
Stop the current job